
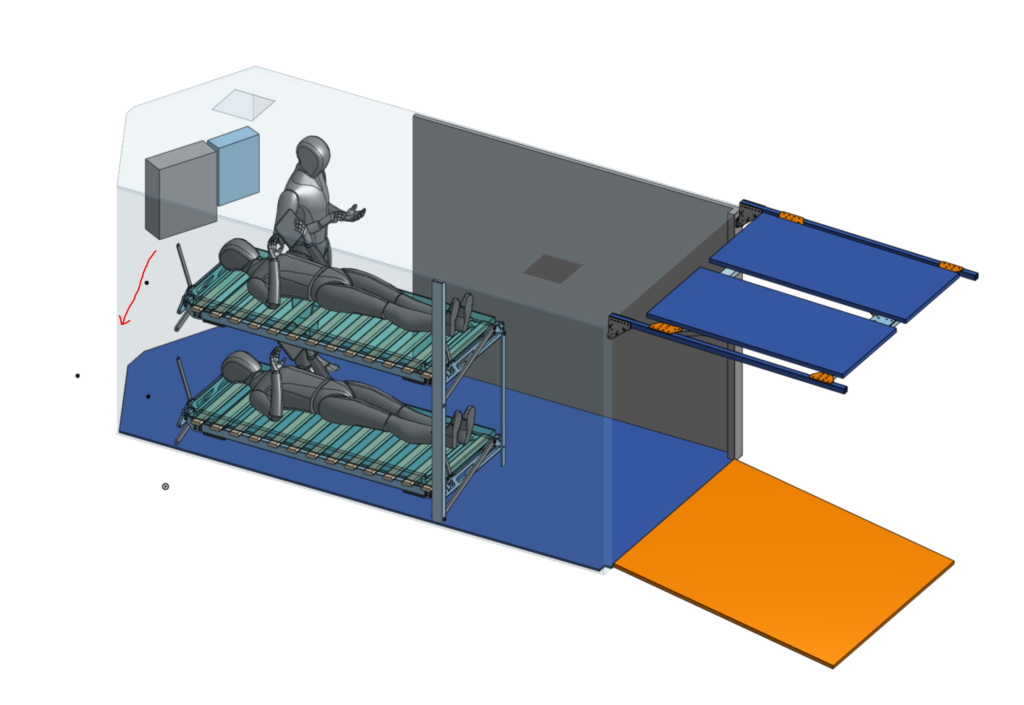
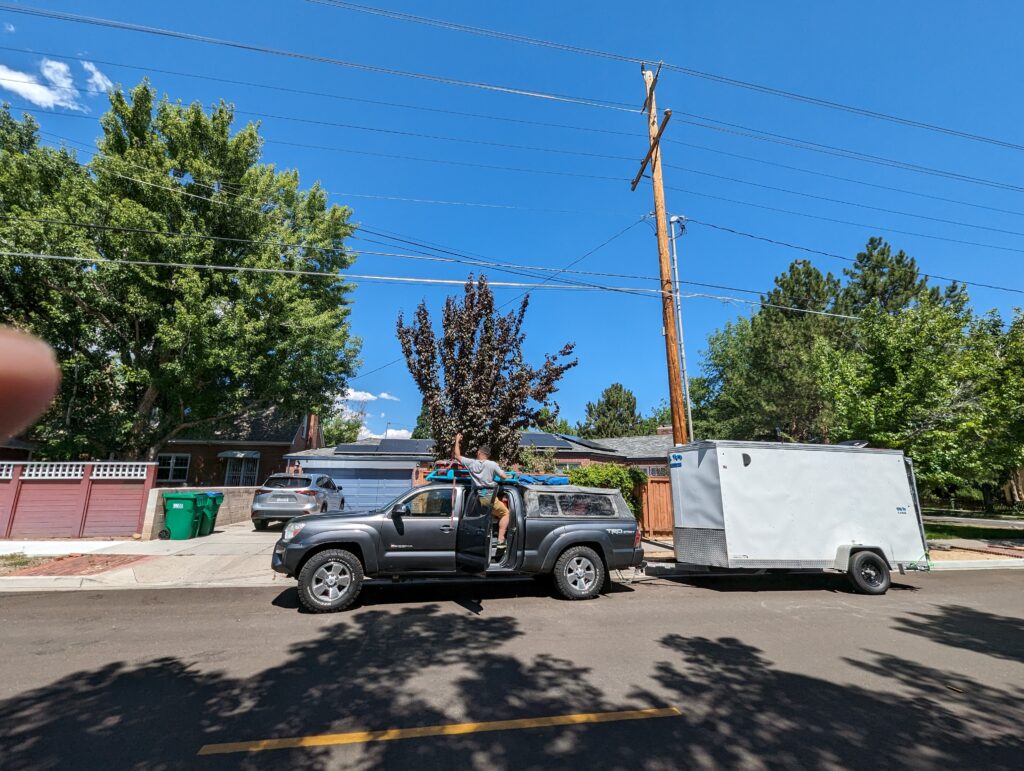
Another burn is upon us! This year I got a chance to do some major infrastructure upgrades for the trailer and the truck, installing a much improved solar / battery system and an awning on the back for having additional space for more panels. I also started work on a fold away murphy bed, but had to pause as I ran out of time. I’ll get that done some time in the next year.
Last year I installed a 12v – 100AH battery, a 60A MPPT charge controller and 160 watts of panels for powering house lights and charging batteries. This system worked great, but I still needed to break out the 2000W honda generator when I needed to run AC or something more power hungry like the espresso machine. This was a real pain in 2022 as temperatures soared to 130F during the day, making getting up and turning on the generator in the mornings a sweaty no-fun experience.
I did some research into kits and found a Chinese supplier that sold a solar charge controller, panels, and a lithium iron phosphate “power wall” style battery. The total cost was about ~3k for the solar. Here is a breakdown of the specifications
Inverter / Charger https://sungoldpower.com/collections/hybrid-solar-inverter/products/5000w-48v-solar-charger-inverter
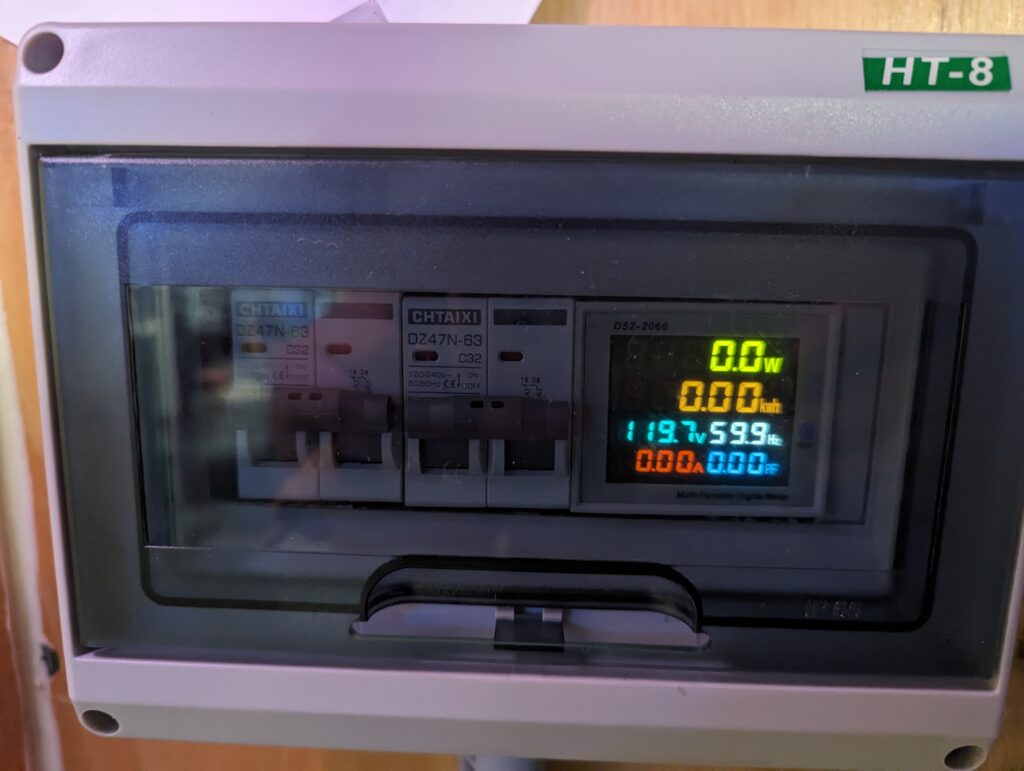
After reading manuals I realized I’d need additional enclosures for circuit breakers to make everything safe.
Battery DC Breaker https://www.amazon.com/dp/B094F98PYF?psc=1&ref=ppx_yo2ov_dt_b_product_details
AC-IN breaker https://www.amazon.com/dp/B094F98PYF?psc=1&ref=ppx_yo2ov_dt_b_product_details
PV-IN breaker
AC-Out Main breaker is built into the inverter/charger
AC-Out House Breaker 1
AC-Out House Breaker 2
Cheap Multimeter for voltage, amperage, wattage, and KWH since on at a glance https://www.amazon.com/dp/B094F98PYF?psc=1&ref=ppx_yo2ov_dt_b_product_details

I also installed a wifi dongle for remote monitoring. This ended up being a bit less useful than I’d thought as each time I’d have to fire up the hotspot on my phone to connect, and it didn’t pull SOC from the battery despite being networked to the battery controller. I’m going to add a raspberry PI and see if I can scrape data manually over a serial terminal in the future.
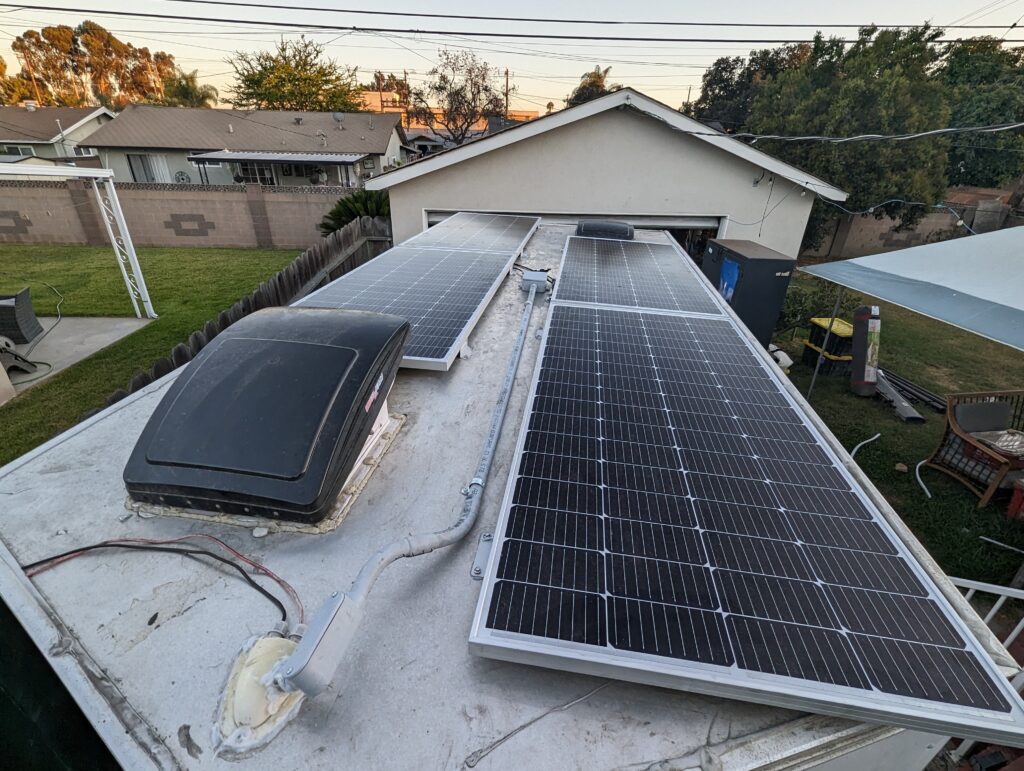
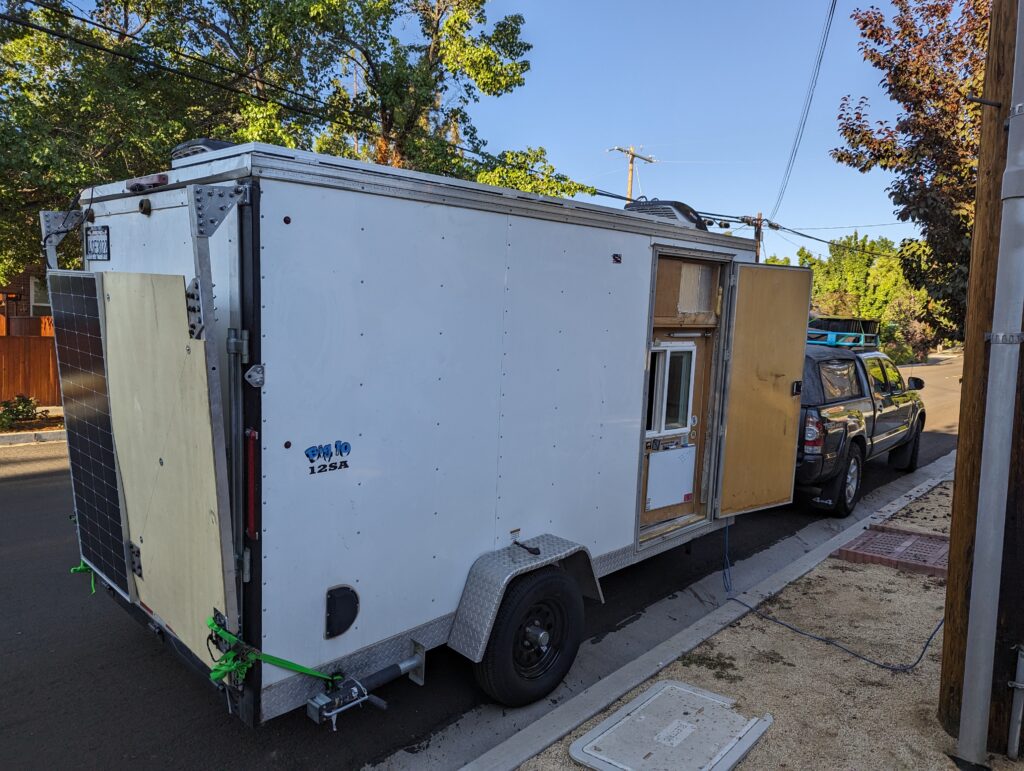
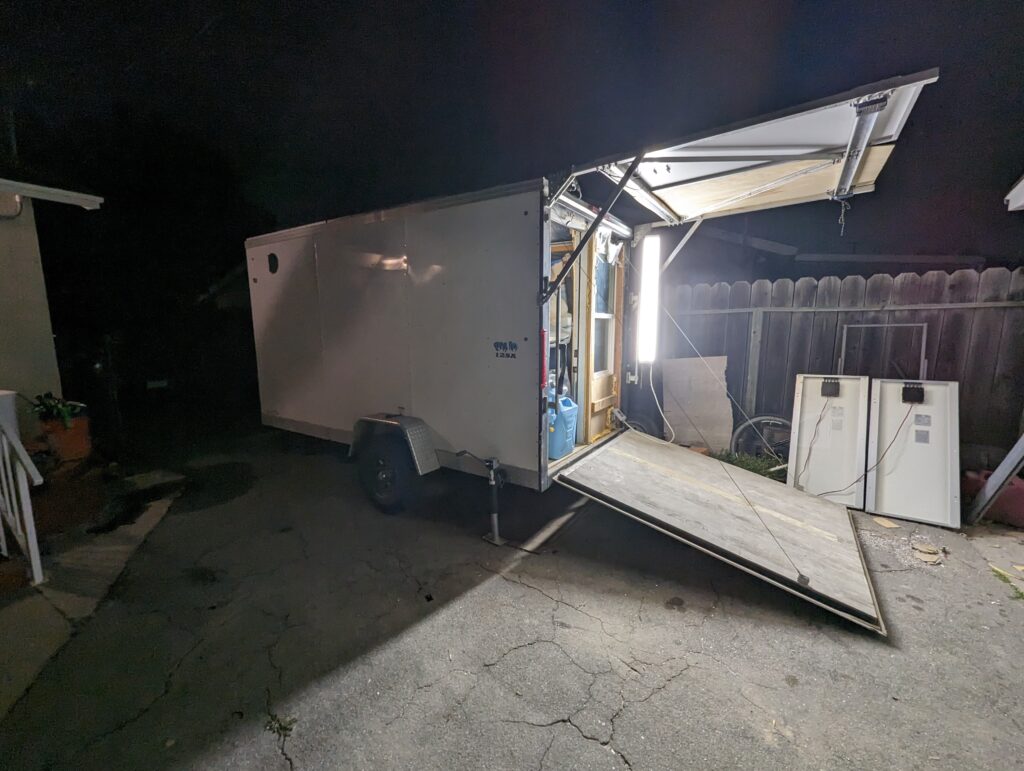
I Installed 4 of the panels on the roof using supplied z brackets, Silicone sealant and self tapping sheet metal screws. I first assembled all of the brackets to the panels, then one at a time, cleaned the installation location with solvent and a rag, applied silicone, and drove in the screws using an impact driver.
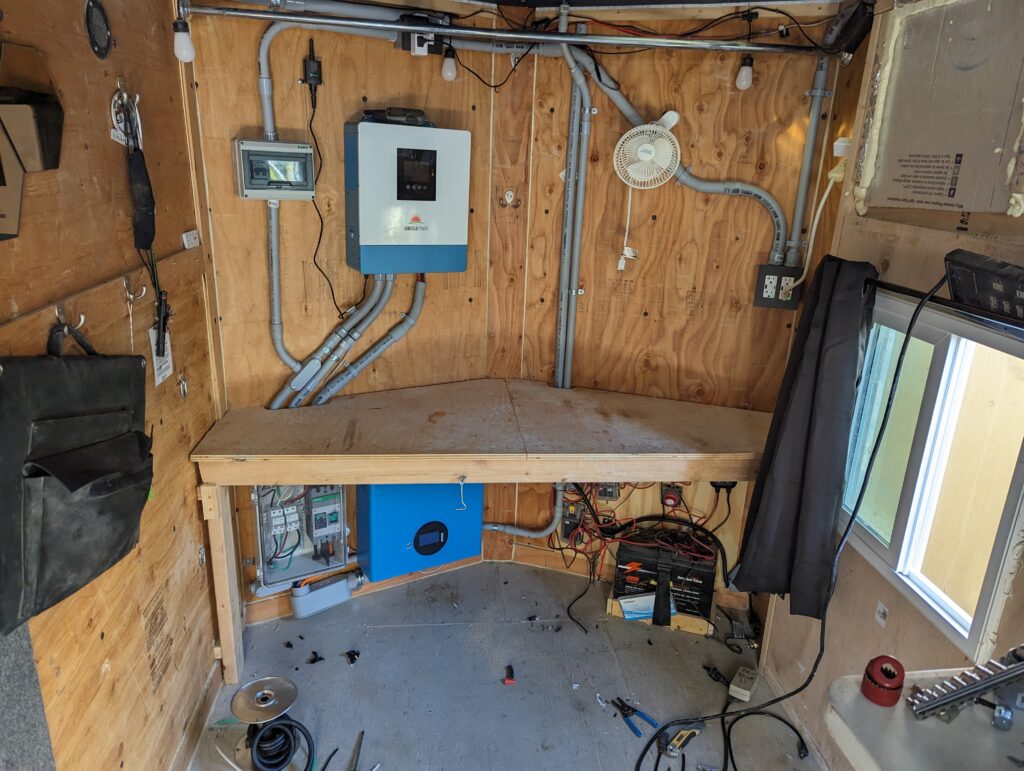
Next I created a model of various component locations on the inside wall of the trailer. I usually hang clothes in that area so I wanted to make sure I’d have room for everything and not cause any components to overheat ( there is an overhead ventilation fan just above where I placed the inverter )
The inverter and AC / output breaker and Input breaker boxes were fairly straightforward to mount. I chose to leave the old 12v system in place for operating the fans and trailer tongue jack ( I may install a couple panels for that in the future but for now it pulls AC power from the new larger system).
More difficult was mounting the battery. It’s quite heavy at almost 120lbs. On it’s own this is relatively straightforward to mount to a wall using bolts / inserts, but in this case, the wall will be bouncing down the road at speed with fairly minimal suspension travel. I expected the mounts to see high dynamic loads, up to 6-10g. I did some quick math and checked tearout for self tapping serrated flange bolts that were used to mount the spare tire.
It seemed these would work fine, so I made 2 aluminium adapter plates with clearance holes for the bolts going into the wall and tapped holes for securing the battery mount bracket (which is basically a large French cleat) to the adapter plates. The top plate has 4 screws that tap into steel frame tubes inside the wall and the bottom has 2. After piloting the holes at the reccomended diameter I drove in the bolts using an impact driver. I then attached the mount plate using socket head cap screws with locktite.
It was straightforward to hang the battery and secure it using two lock bolts that keep the cleat from popping off.
The tricky and longest part of the job was installing two groups of 6x AC GFCI / USB charger outlets and running conduit between all of the components. This required many trips to the hardware store to get just one more conduit fitting. I used stranded copper cable (heavy gauge for the main AC hookup and thinner gauge for distribution) and wire nuts (that I taped after using, I may go back and replace these with wago nuts)

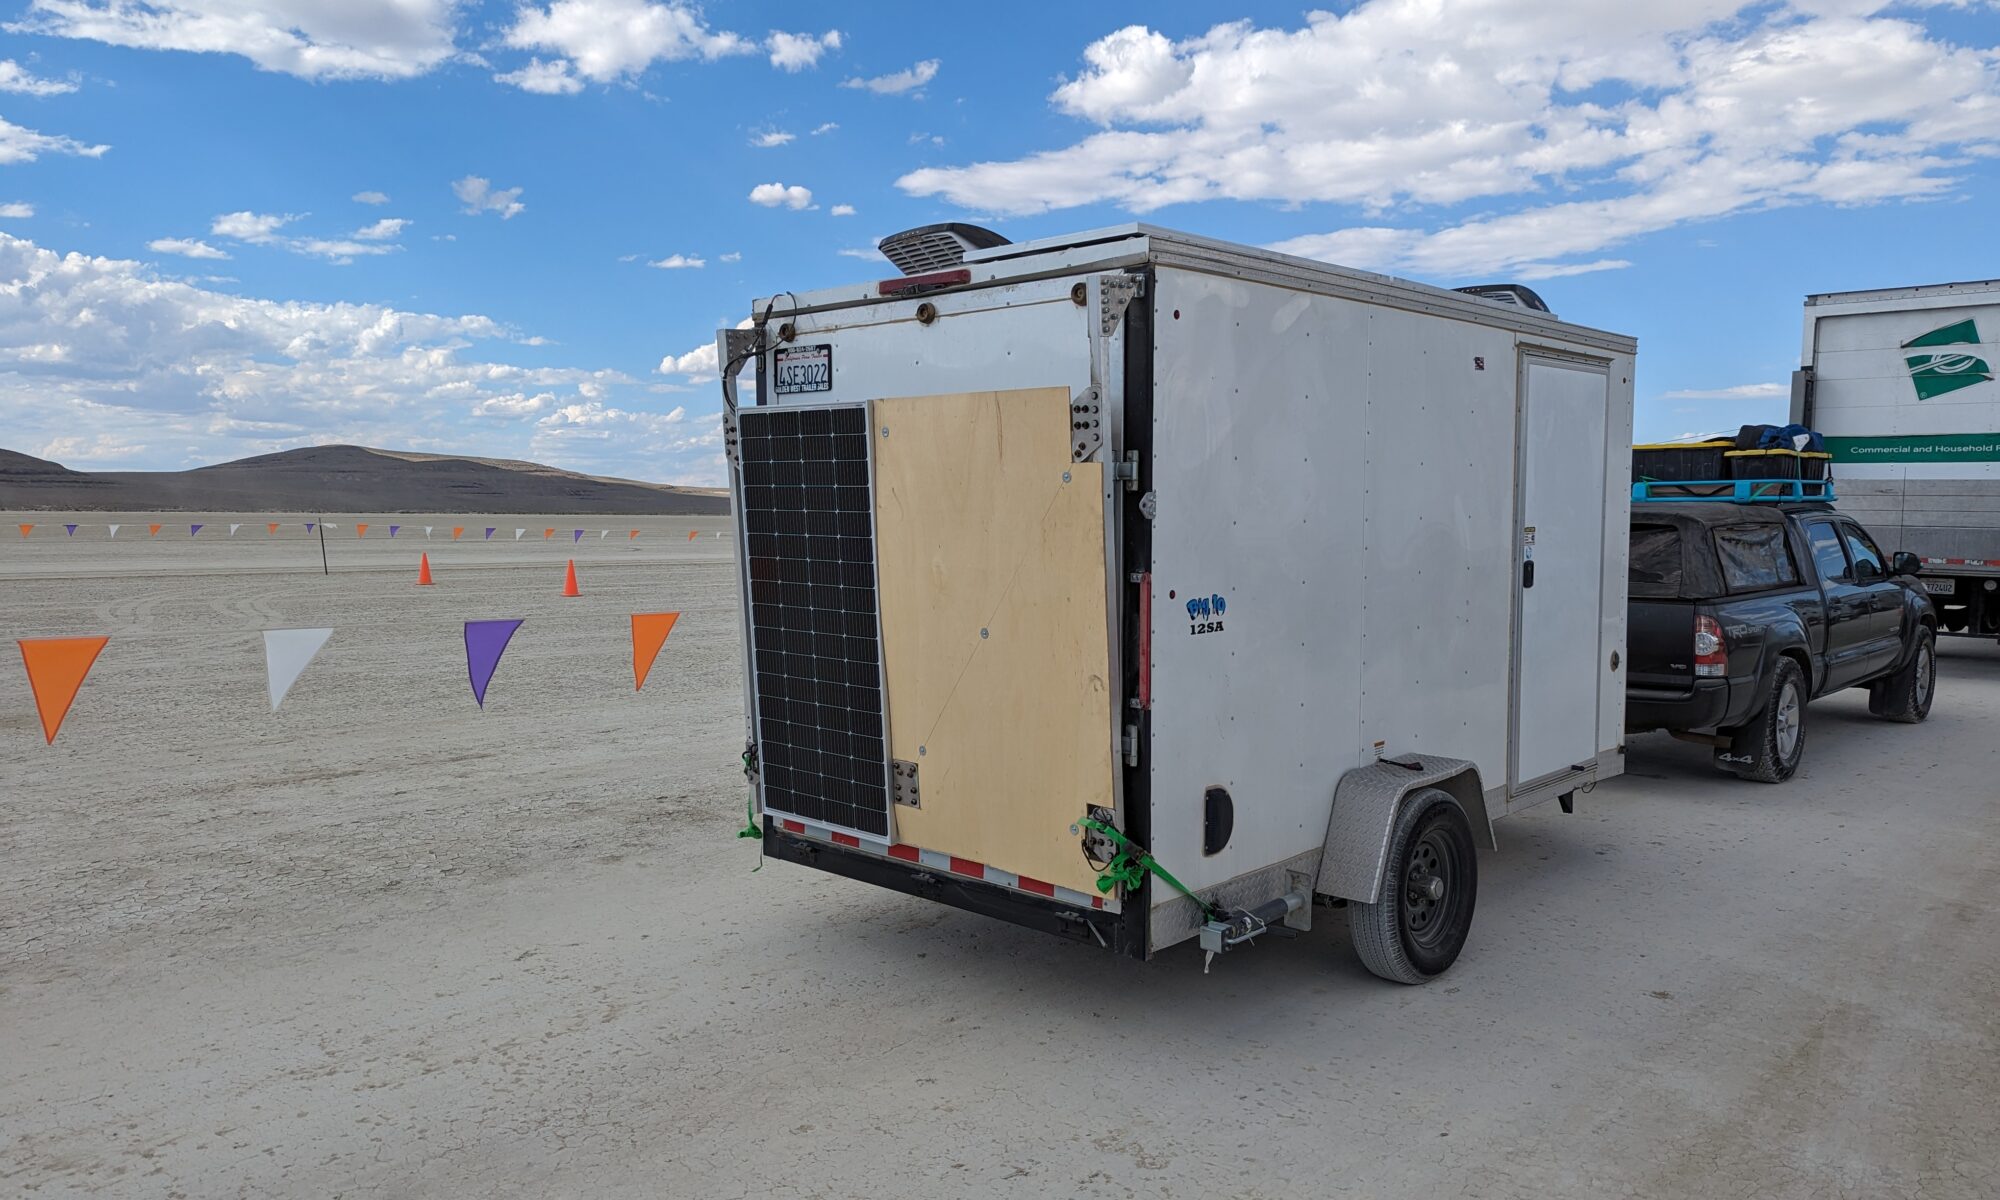
I put one set of outlets on the back door for external use. They have a weatherproof enclosure (which came in handy with the rain)
Lastly I modified the bench at the front to accommodate the new conduit runs. The new Jigsaw was very helpful and made the job way faster than the cutouts I made by hand the previous year.

Awning Build
I could fit 800 of 1200W of panels on the roof of the trailer, but the last two would need additional mounting area. Last year at the burn I noticed the back window got a ton of sun and would heat up early in the mornings, leading to a need for AC earlier even though the external air temp was low. A solution to both problems was designing a fold up awning for the back of the trailer.
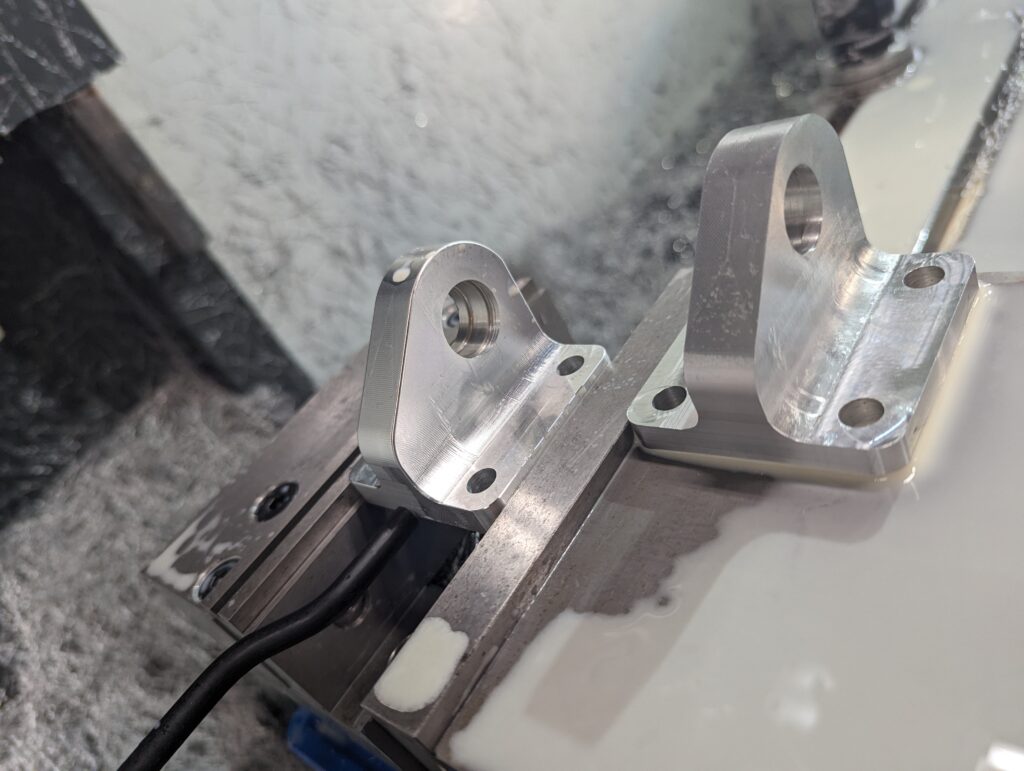
First I sized the pivot pins for the estimated weight of the panel / frames, selected swivel bearings, then designed lugs to attach the swivel bearings to the frame of the trailer. I machined the lugs from billet in three steps,
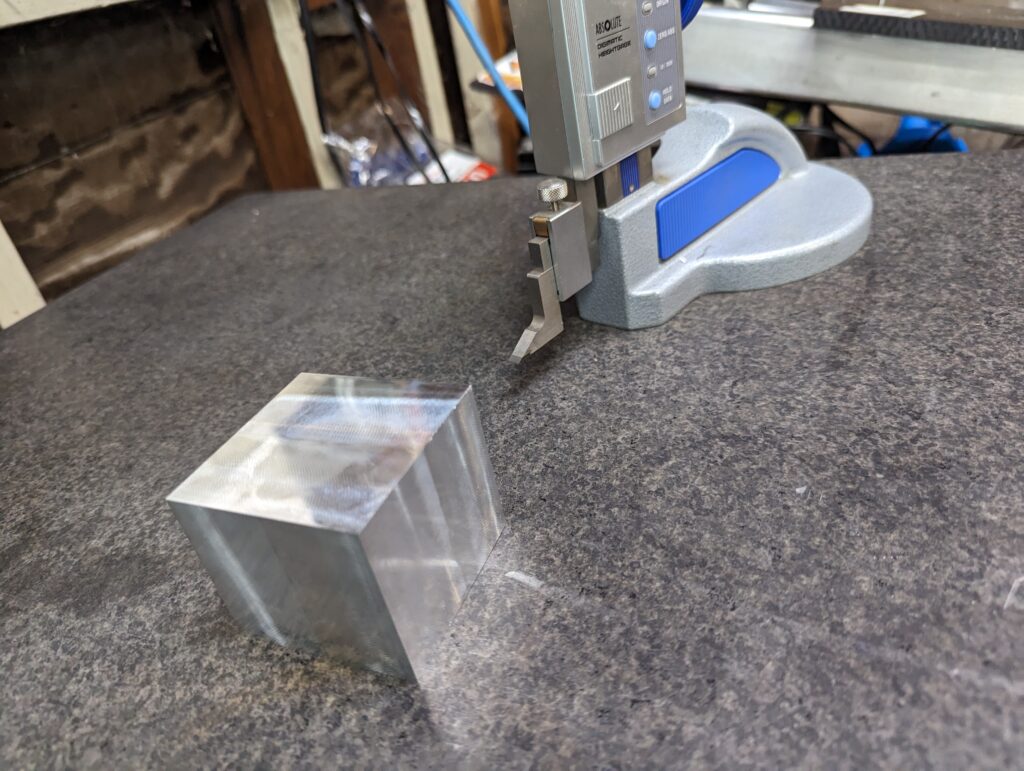
first squaring off the stock,
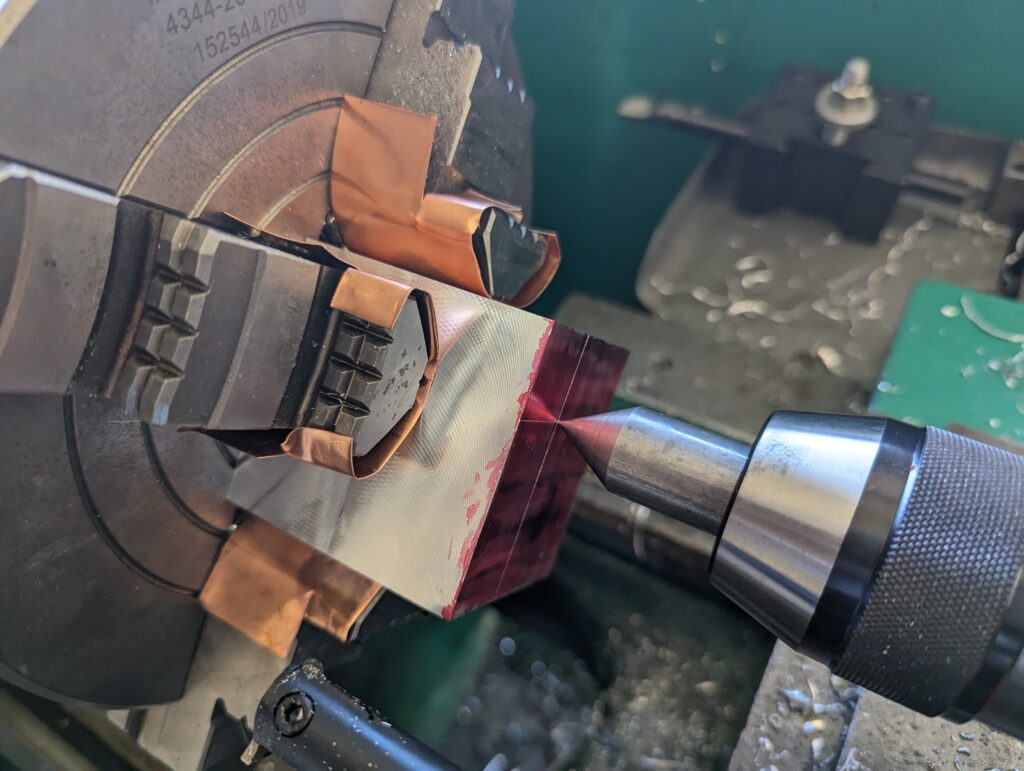
then turning the hole, shoulder and snap ring groove in the four jaw chuck on the lathe.
Once the hole features were done I’d put the block back in the mill vise and in two setups cut the bottom and top part of the lug. I included a profiling path with a ball mill to put radiuses on all the upper / exposed edges, so I didn’t have to deburr anything.


As I’d been getting help from my friend Josh Kirsch with laser cutting parts for the bedframe project (that’s still ongoing) I threw together some quick brackets and drill jigs he could laser cut from 1/4″ aluminium plate for attaching the tubes and channel together that made up the frame. I made sure to include a couple diagonal stringers to keep the whole thing from wanting to parllelogram.
Once I got everything home and the tubing cut to length, I went about fitting everything up with clamps. I then drilled out all the holes using the drill jigs and drill bushings.
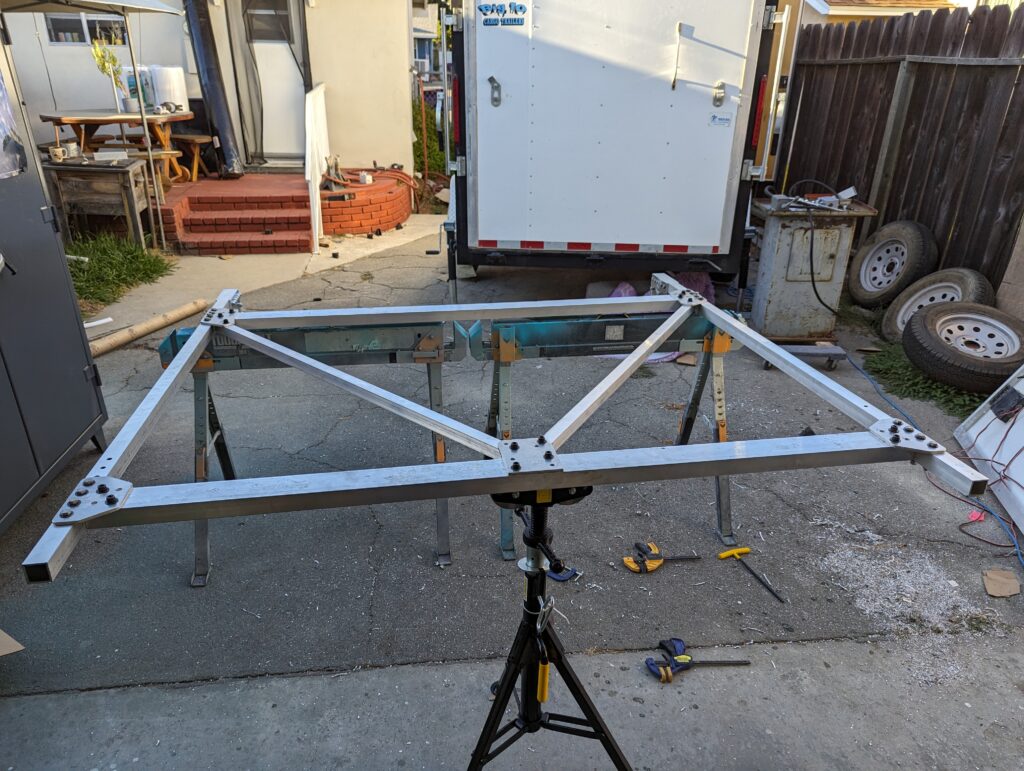
The frame came out a tad crooked ( the bolt holes were all clearance but there wasn’t quite enough play to get everything to line up perfect), so on the lathe Josh helped me turn a couple C86300 Manganeese bronze bushings that would clamp up to the swivel on either side and square up the frame ( this did add some preload to the frame, but make sure it’d clear the ramp when lowering it, which was an issue the first time we installed it).

I used a painters pole to prop up the awning and it seemed to work great! the whole thing was a fair bit heavier than I’d anticipated (mostly because I used some leftover heavy wall channel for the cross members and it added 20 or so pounds to the assembly), and I was a bit nervous about it coming loose and the awning swinging down and bashing someone’s head, so I took a couple struts leftover from the bed project and zapped a couple extra hardpoints to the back of the trailer, creating a removeable support for the awning.
Final Panel Hookup
With the panel installed to the awning, I added it into the series chain of solar panels and routed through conduit the solar into the trailer. I need to go back and add some flex conduit that traverses the joint for the awning but for now the wires are alright / strain relieved on either side.
I completed hookups of all of the circuit breakers and panels inside, including the shore power port, and tried switching everything on.
Powerup and testing
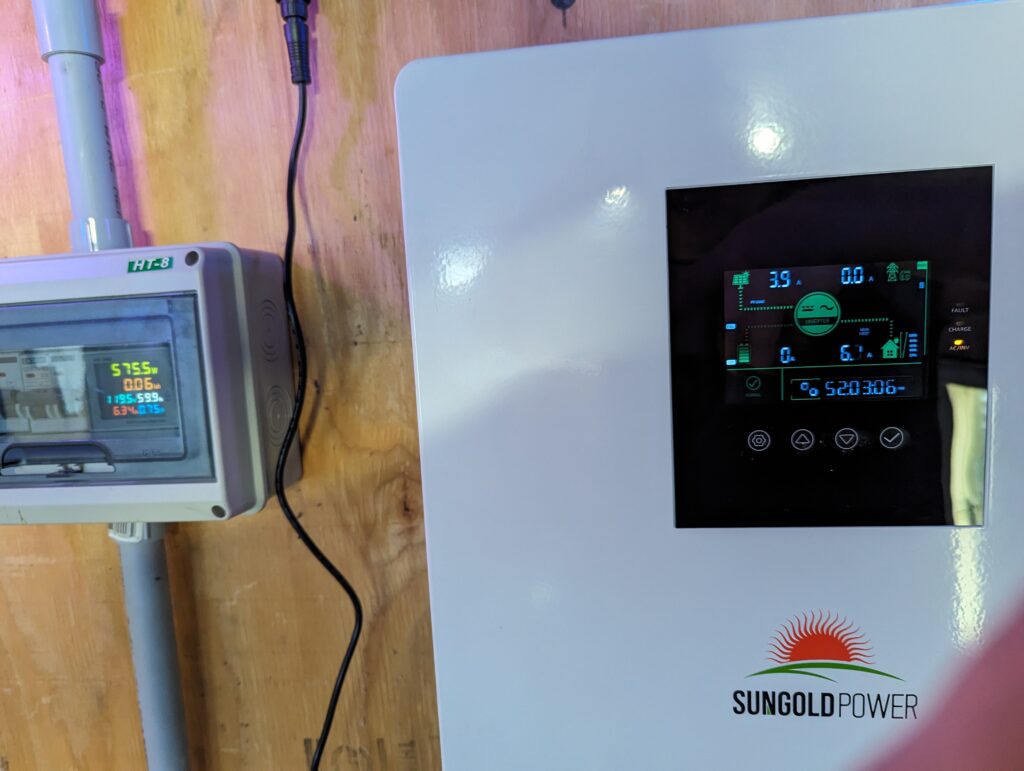
I turned on the breakers and the sun and voila! we had power. On the first test I managed to run the AC at 700w entirely off solar input. Not bad for 1000w of panels.

Hurricane Proof Loading and Leak Check
As I was wrapping up work on the AC outlets (with the breakers off of course) a hurricane moved in from the south. I worked inside the trailer all day and didn’t notice any leaks. The wind picked up in the evening and the awning worked great through the whole storm. This gave me a good idea that it’d be alright with the wind out at burning man.

Trip to Reno
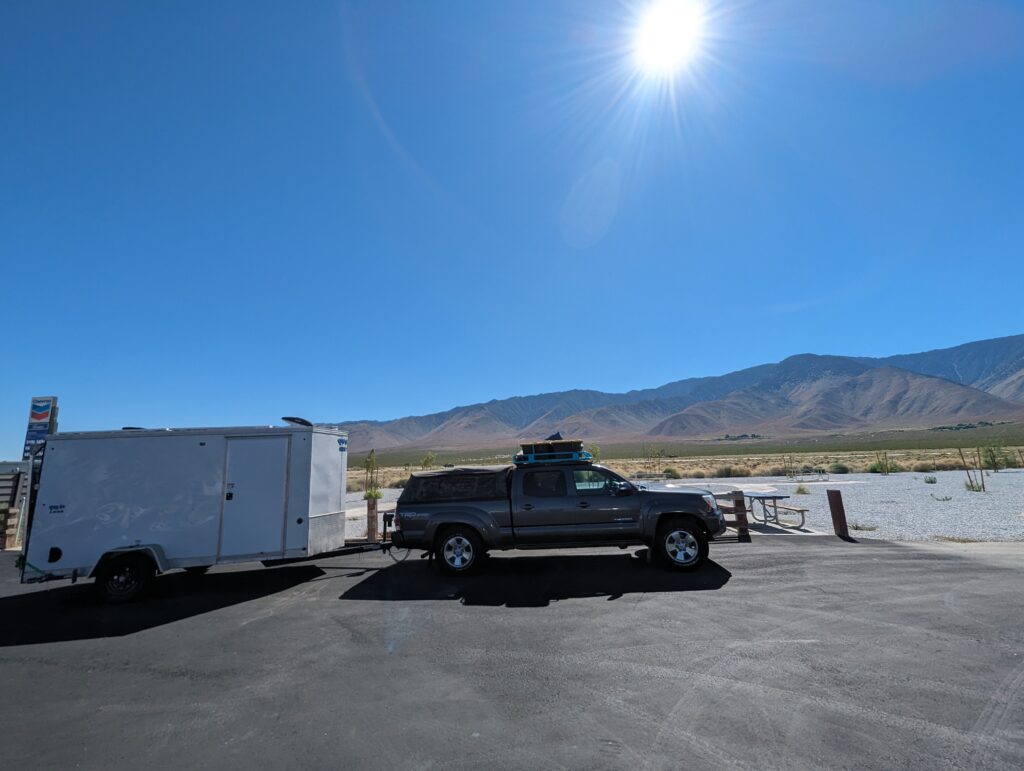
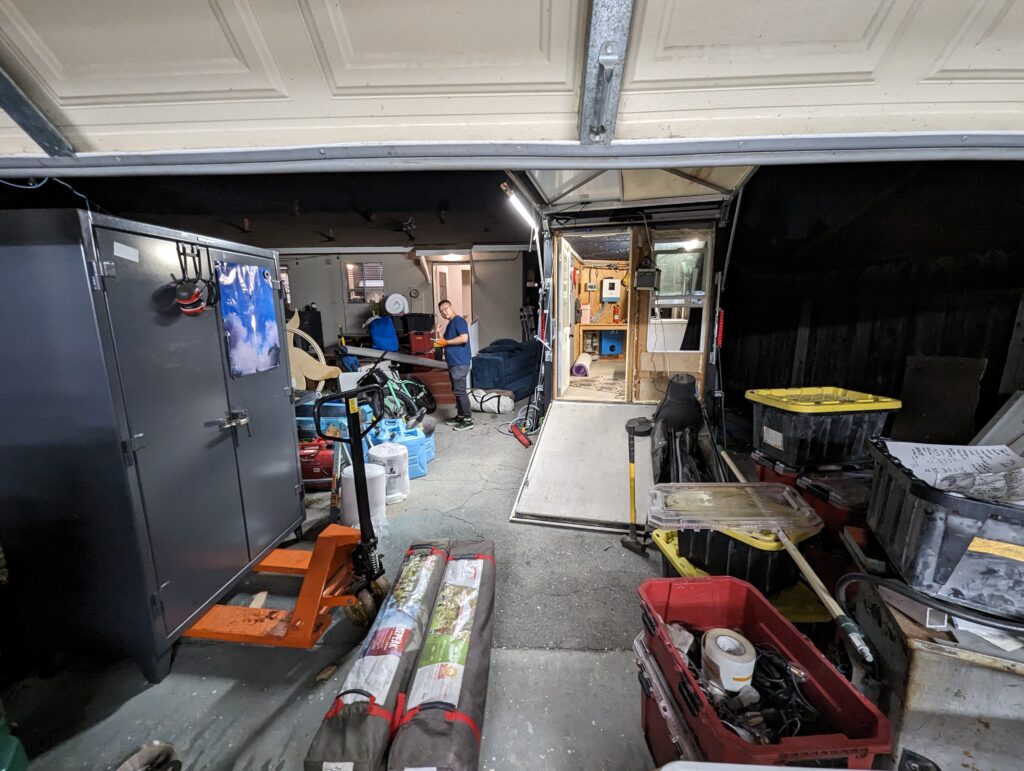
The day after the hurricane we started loading the trailer for the journey north. Tuesday night we wrapped up just after midnight and I hitched up and took off Wednesday morning. The drive from LA to Reno was fairly uneventful, with a brief stop in Mojave for lunch and Lake mono for dinner. Just as we were about to get to Lake Mono, we grabbed some gas and I checked the trailer and heard a beeping.
The battery was dead, and just after sundown, this was going to be a huge problem, as the freezer with all my food for the next couple weeks in it was warming up. I wasn’t sure if it was a bad battery or if I’d just set something up wrong but we didn’t have the time to sit and sort it out, so we drove the rest of the next hour to reno with no power on the freezer and crossed our fingers it’d stay cold until we could plug into a wall.
Parameter Setting
After reading the manual a couple times and consulting with an electrical engineer we concluded that the charge parameters for the battery were set incorrectly in the inverter/charger and needed to be modified to charge the battery to a substantial fraciton of it’s charge curve. It had only been topping it off to about 5% of its nominal capacity (which explained why it died almost as soon as the sun went down).
After setting that and about 30 other parameters, we got the battery charging and left it overnight on shore power. In the morning we had 70% of a charge, so we unplugged to see if the solar was going to charge it. We ran for groceries and when we got back it seemed like the solar was working and had topped it off. Success!
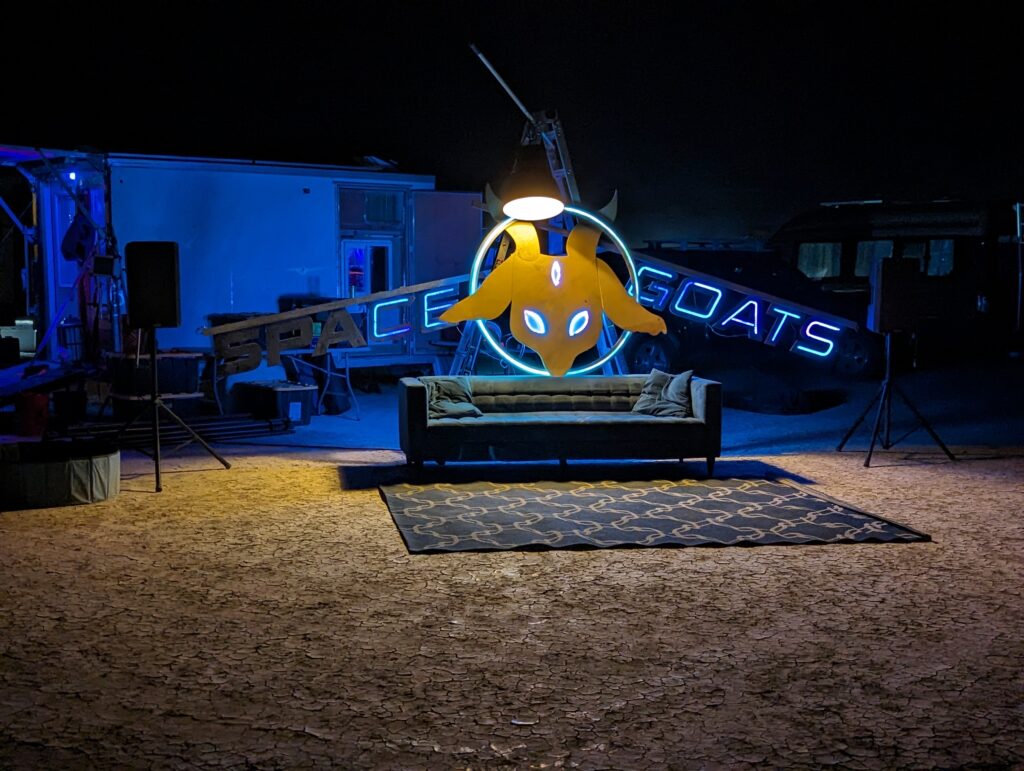
Performance on Playa

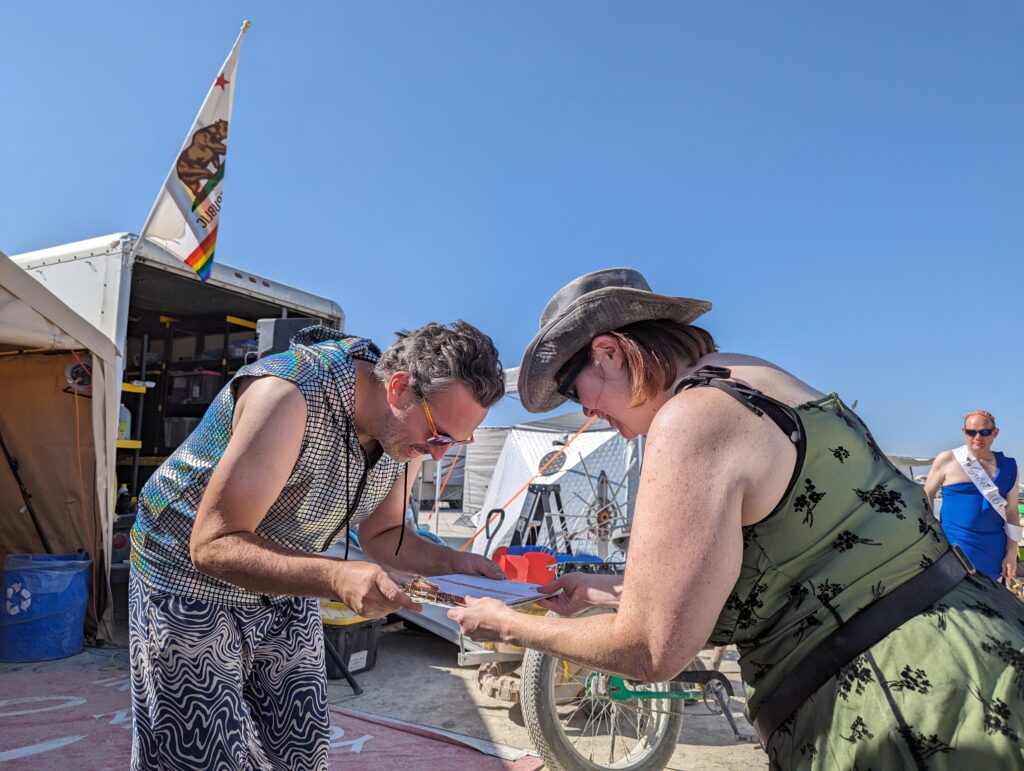
On the road again we raced to black rock. there was a report that afternoon there might be rain, which would be a disaster to get stuck in, so we were in a hurry. We got to gate as the dark clouds were rolling in, and everything seemed to be working great on the trailer and power system. We made it to placement around dinner time and they placed me at 7:30 and A (across the street from where we were last year). I unpacked a few essentials and dropped off the person who rode in with me, and got some sleep.
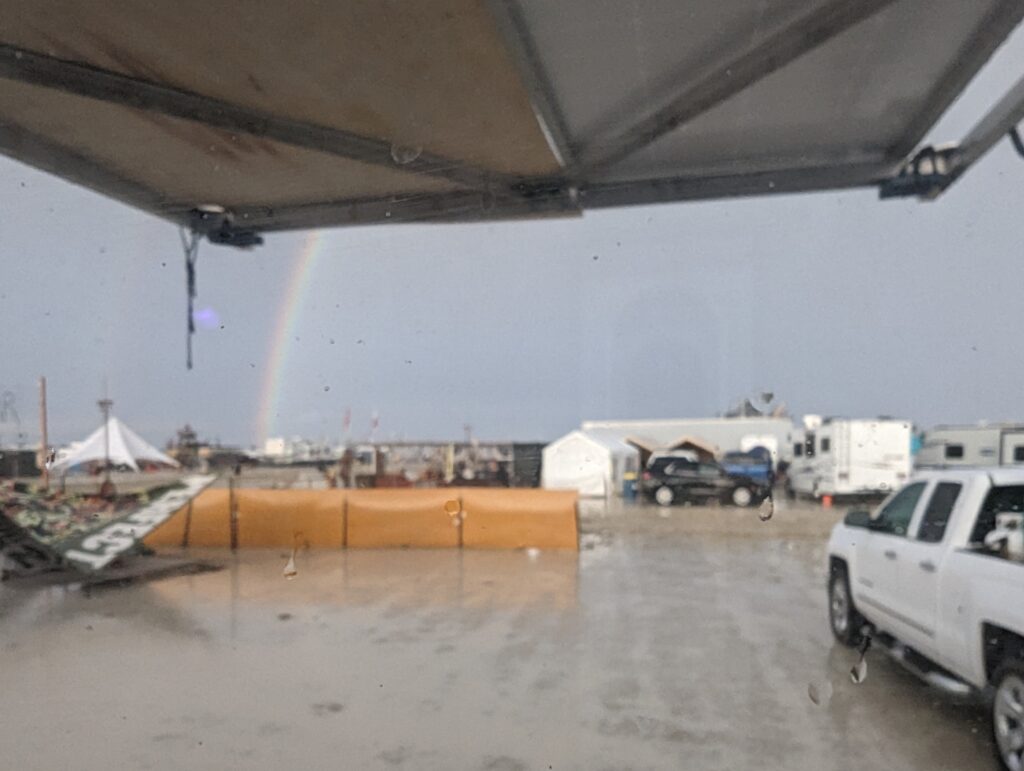
Mudpocalypse – sort of?

The rest of the burn was a blast, but that’s a different story. The trailer power systems worked great the almost two weeks I was out there. I only ended up running the Honda 2000 generator once, after three days of clouds, to top off the battery even though it still had plenty of charge to get through the next night. In retrospect I could have gone entirely gas free this year, and I plan to the next time I’m out there. It rained for a couple days and we were “stuck” but it was fun, our camp had two chest freezers running on solar and a couple costco carports so we had a ton of food, a dry place to chill out with couches, and a great view of the street to watch people get stuck in their RVs in the mud.


Aftermath / Looking forward

I finally got out on Tuesday after a rough strike ( one of our camp strike team broke their arm during the rain and we were down a person ) . Exedous was smooth at about 4 hours and I got on the road just as it got dark. This year I decided to grab a hotel in reno rather than power through and it was pretty nice to relax and get a shower.
Taking a break from the burn!
I’m happy with how everything worked but I think I need a break from the burn. It’s going on 10 years now. I think I have it pretty dialed in on the infrastructure / personal kit and next I want to contribute art and work on my own mobility on playa (maybe design and build an ebike or something). My camp is on hiatus for a year (most likely) so I might travel or go camping somewhere with more trees next year.
I think the next update will be about progress on Flotilla. Enough vacation, time to take over the world!